How to Propagate Pothos in Water (Step by Step)
Learn how to propagate pothos in water with a simple step-by-step guide, and how to transfer your cuttings to soil without losing them.
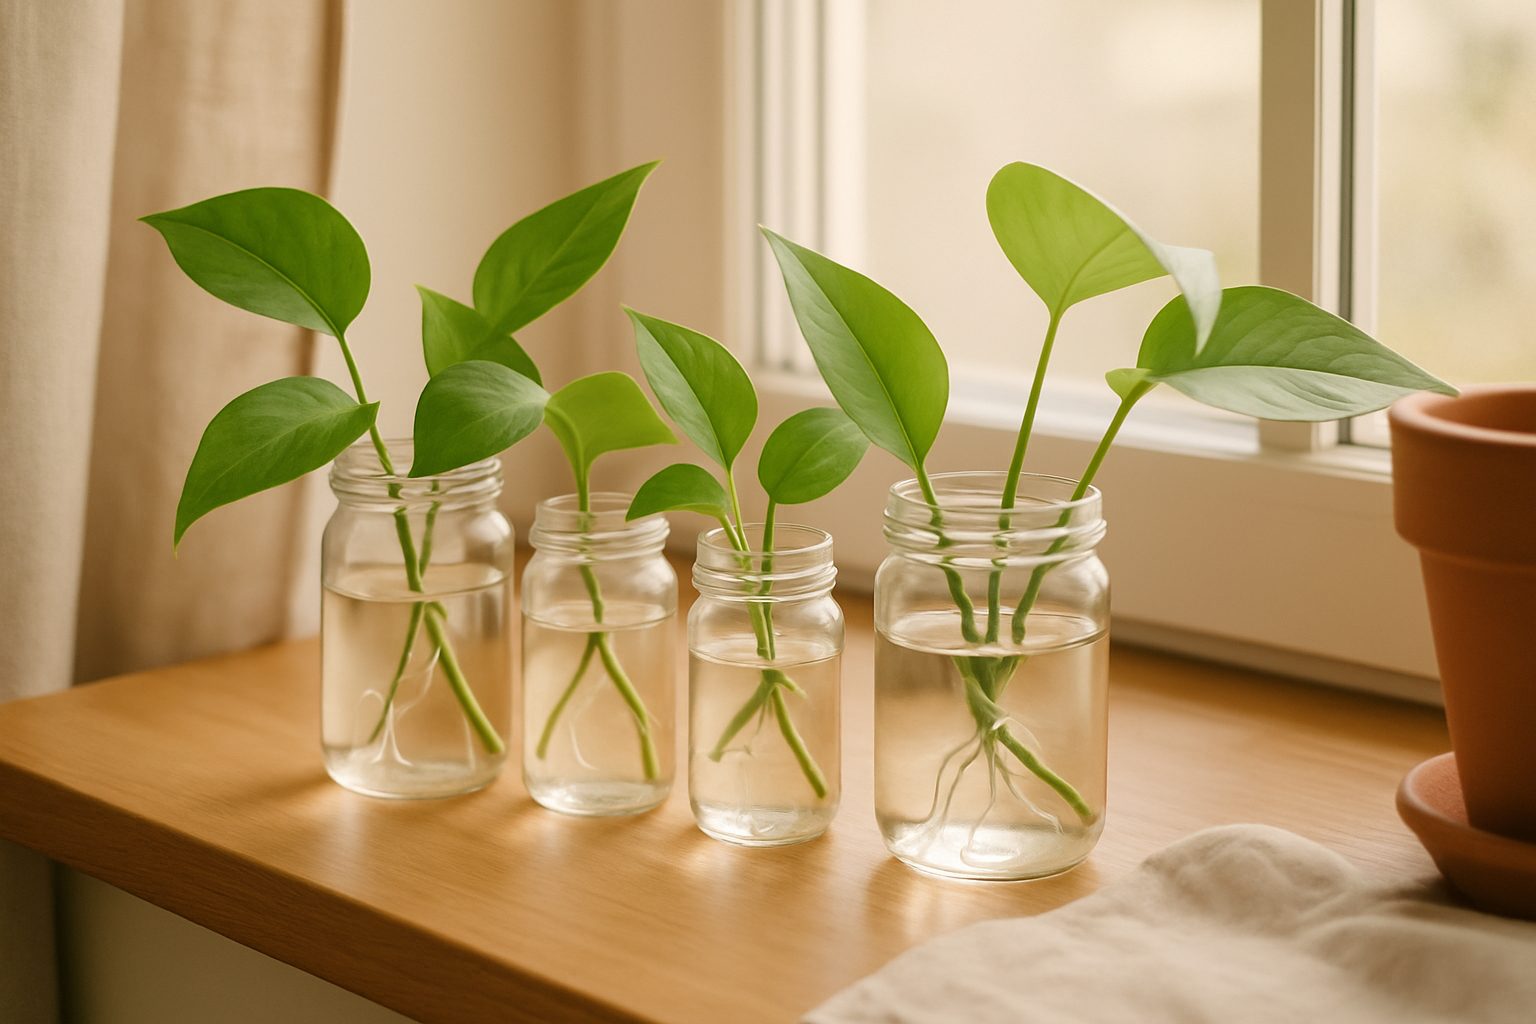
Learning how to propagate pothos is one of the easiest wins in houseplant care. Take a cutting, put it in water, wait a few weeks, and you’ve got a new plant. That’s the short version.
The longer version is where people run into trouble. Cuttings that won’t root, mushy stems, and the wilt-right-after-transplant are all common. This guide covers the whole process, including the steps most articles skip.
Quick answer
Cut a 4 to 6 inch stem just below a node (the brown bump on the vine). Strip the lower leaves. Place the cutting in a clear glass of water in bright indirect light. Roots appear in 3 to 8 weeks. Transfer to soil when roots reach 1 to 2 inches.
What you need
- Clean scissors or pruning shears
- A clear glass, jar, or small vase
- Fresh water (tap water left out overnight, or filtered)
- A healthy pothos to take cuttings from
No rooting hormone required, though it can shave a week off the timeline.
How to propagate pothos in water
Step 1: Start with a healthy parent plant
This step most articles skip. Cuttings from a stressed, underwatered, or recently repotted plant root slowly or not at all. If your pothos has yellow leaves, bone-dry soil, or was just moved to a new pot in the last two weeks, give it time to stabilize before you take cuttings.
A plant in active growth (spring and summer, near a bright window) produces the fastest-rooting cuttings.
Step 2: Find a node and cut below it
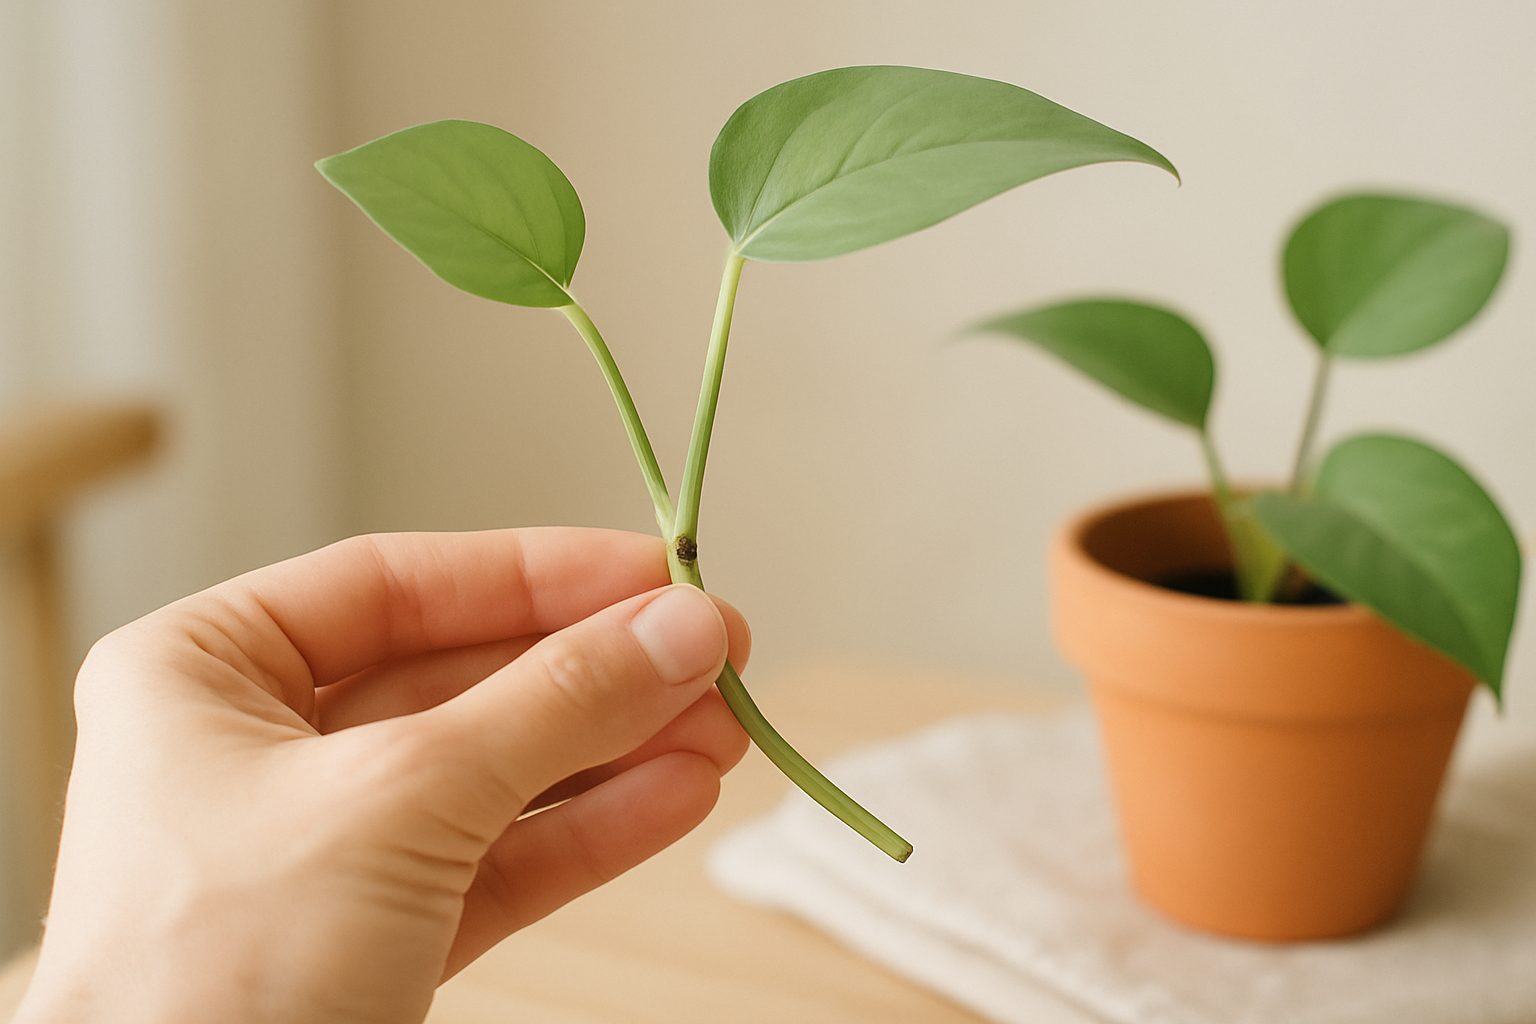
A node is the small brown or reddish bump on the vine where a leaf attaches. Roots grow from nodes. Without one, the cutting will sit in water indefinitely and produce nothing.
Cut the stem about a quarter inch below a node. Use clean scissors to avoid introducing bacteria. Aim for a cutting with 2 to 4 leaves and at least one node. Two nodes is better for a fuller result.
Step 3: Strip the lower leaves
Remove any leaves that would sit below the waterline. Submerged leaves rot and cloud the water, which slows rooting. Keep at least one leaf above the water so the cutting can photosynthesize.
Step 4: Place in water
Put the cutting in a clear glass or jar with a few inches of water. The node should be fully submerged; the leaves should stay above. A clear container lets you watch root development without disturbing the cutting.
Set it in bright indirect light, near a window and out of direct sun. Direct sun heats the water and encourages algae.
Optional but worth knowing: add 2 to 3 drops of 3% hydrogen peroxide per cup of water. It prevents bacterial rot without harming developing roots, and it’s the main reason some cuttings stay crystal-clear while others go cloudy within days.
Step 5: Change the water and watch for roots
Change the water every 5 to 7 days. Rinse the container while you’re at it. Fresh water keeps oxygen levels up and bacteria levels down.
Within the first 1 to 2 weeks, small white or cream-colored nubs appear at the node. That’s the beginning of root growth. By 3 to 4 weeks, those nubs extend into thin threads. Healthy roots are white to cream, firm, and slightly fuzzy to the touch.
Roots usually reach 1 to 2 inches by 4 to 8 weeks. Faster in warm conditions (65 to 80°F), slower in cool rooms or winter.
Step 6: Transfer to soil
Once roots hit 1 to 2 inches, move the cutting to soil. This is where the most failures happen.
Water roots grow without the internal structure they need to pull moisture from soil. The longer you leave them in water, the more adapted they become to a hydroponic environment, and the harder the soil adjustment gets. Do not wait until roots are 4 to 5 inches long. They’ll be tangled, brittle, and much harder to transplant.
Pot it into a loose, well-draining mix (standard potting soil plus perlite at roughly 1 part perlite to 3 parts soil, or a pre-made aroid mix). Water it in, then set it in bright indirect light. A clear plastic bag tented over the pot for the first 3 to 5 days raises humidity while the cutting adjusts. Remove the tent gradually over a day or two once you see the leaves looking stable.
Keep the soil just-moist for the first two weeks. Check every 2 days by pressing your finger an inch in. Damp means wait; dry means a light water.
Skip fertilizer for at least 2 to 3 weeks. New roots are fragile and salt burn sets them back before they’ve had a chance to establish.
Some droop on day one or two is normal. If the cutting perks back up within 48 hours with moist soil, it’s adjusting fine. If it stays wilted and the stem base goes soft, check for rot.
Propagating pothos directly in soil
Soil propagation avoids the transition problem entirely by building soil-adapted roots from the start. It takes a little longer to confirm it’s working, but there’s no shock at transplant.
Take your cutting the same way, strip the lower leaves, and let the cut end dry for 30 to 60 minutes. Plant it into a moist mix with extra perlite (1:3 ratio), firm the soil around the node, and place it in bright indirect light.
Keep the soil lightly moist. Roots typically form in 4 to 6 weeks. You’ll know it worked when you feel gentle resistance if you tug very lightly on the stem.
Sphagnum moss propagation
Sphagnum moss holds moisture while keeping roots aerated. It works well in dry climates or during winter when heating drops household humidity. Moisten a small handful of sphagnum moss until it feels damp but not dripping. Squeeze out the excess. Wrap it around the node, then place the cutting in a clear bag or under a humidity dome. Check the moss every few days and re-mist if it starts to dry. Roots grow into the moss in 3 to 5 weeks. Then pot directly into soil.
Why isn’t my cutting rooting? (Troubleshooting)
No roots after 6 weeks
First: does the cutting have a node? A leafy stem tip without a visible bump will never root. Start over.
If there’s a node, check temperature. Pothos stall below 60°F. Move the cutting somewhere warmer, ideally 65 to 75°F.
Also check the water quality. Tap water high in fluoride or chlorine can slow rooting. Letting tap water sit uncovered overnight before use lets the chlorine off-gas. Filtered water works best.
Mushy stem at the waterline
This is stem rot from bacteria. Cut the affected section off above the mushy part. If a node is still intact and firm above the rot, the cutting can recover. Rinse the jar, add fresh water with the hydrogen peroxide trick (above), and change the water every 3 to 4 days going forward. If the root’s going mushy deeper into the stem, the cutting is likely lost.
When in doubt about what root rot looks like up close, the root rot guide has photos and a full diagnosis walkthrough.
What do unhealthy roots look like?
Healthy roots: white to cream, firm, slightly fuzzy, growing toward the light. Unhealthy roots: brown or black, soft and slimy when touched, may smell faintly sour. If you see slimy roots, act immediately. They spread fast in a closed container.
Brown tips on the cutting leaves
Normal if it’s just the very tips. The cutting is directing energy toward roots, not foliage. If whole leaves go yellow and soft, the stem may be rotting.
Cloudy water
Change it right away. Rinse the container. Cloudiness means bacteria are active. The hydrogen peroxide addition helps prevent it.
Propagation failure is normal sometimes
Even a correctly taken cutting from a healthy plant fails occasionally. Some cuttings just don’t root, for no obvious reason. If one doesn’t work, take another rather than assuming something is wrong with your technique.
A note on different pothos varieties
Most varieties propagate identically. One exception: heavily variegated types like Marble Queen and Manjula have less chlorophyll per leaf than standard golden or neon pothos. They root more slowly and need slightly brighter light to compensate. Give them an extra 2 to 3 weeks before assuming failure.
FAQ
Can you propagate pothos without a node?
No. A node is required for roots to form. A leaf cutting or a stem tip with no visible bump on the vine will not root, even after months in water. Always cut just below a node.
How long does it take for pothos to root in water?
Small white nubs appear at the node within 1 to 2 weeks. Full roots reach 1 to 2 inches by 4 to 8 weeks. The timeline shortens with warm temps (65 to 80°F) and bright indirect light, and lengthens in cool, dark conditions.
When should I transfer pothos from water to soil?
Once roots reach 1 to 2 inches. Waiting until they’re 4 to 5 inches makes transplanting harder because the roots become tangled and brittle. Transfer while they’re still young and flexible.
Can pothos root in soil directly?
Yes. Soil propagation takes longer to confirm but avoids transplant shock. Use a loose, well-draining mix (1 part perlite to 3 parts potting soil) and keep it lightly moist.
How do I make pothos root faster?
Bright indirect light, temps between 65 and 80°F, and fresh water every 5 to 7 days. The hydrogen peroxide trick (a few drops of 3% H2O2 per cup of water) prevents the bacterial buildup that slows rooting. Rooting hormone powder or gel applied to the node before placing in water can also cut a week off the timeline.
What soil should I use when planting pothos cuttings?
Standard potting mix with perlite added at about 1 part perlite to 3 parts soil. This drains fast enough to prevent rot while the new roots establish. A pre-mixed aroid blend also works.
Once your cutting puts out a few new leaves, it’s established and you can treat it like any other pothos. The pothos care guide covers everything from light to fertilizing to what to do when it gets too long.
If this is your first plant, pothos is a great starting point and there are a handful of others just as forgiving. The guide to best indoor plants for beginners is worth a read.
Watering a newly potted cutting is easy to get wrong. How often to water houseplants has the finger-test method and the signs to watch for.
Sources: Royal Horticultural Society (RHS) guidance on vegetative propagation; University of Florida IFAS Extension resources on Epipremnum aureum cultivation.
Keep reading
Related guides
 Guides
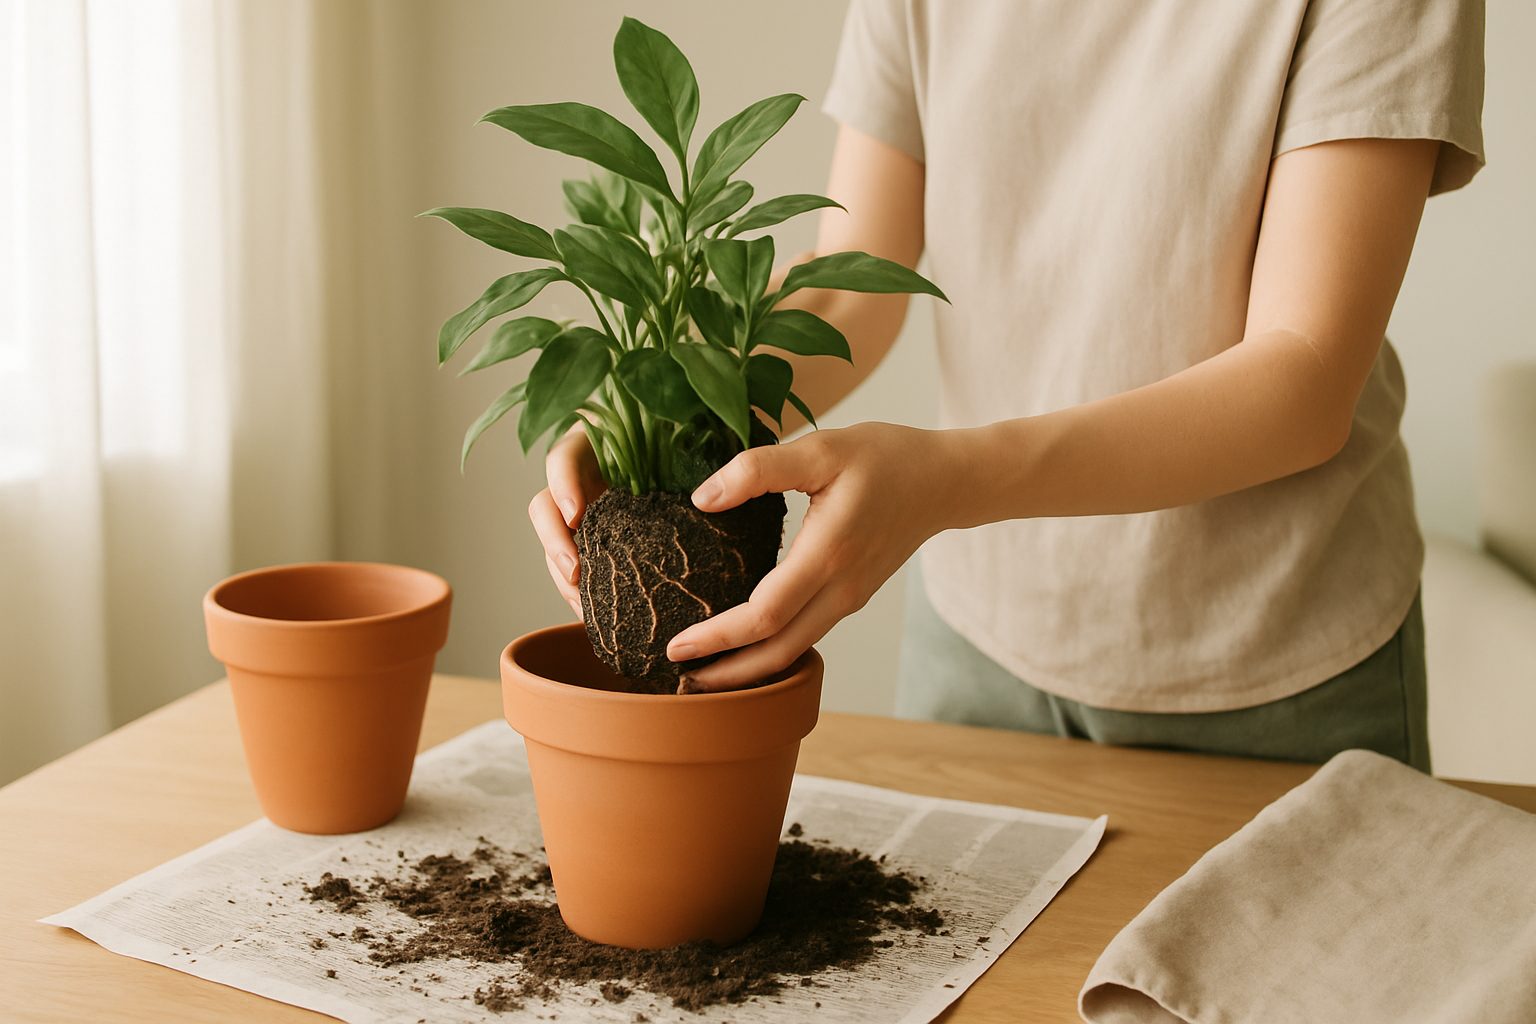
 How to Repot a Houseplant (Without Killing It)
How to repot a houseplant step by step: picking the right pot size, soil type, and what to do after so your plant actually recovers.
How Often Should You Water Houseplants? A Simple Guide
How often to water houseplants? Skip the calendar. Learn the finger test, frequency ranges by plant type, and how to water the right way.
 Plant Lists
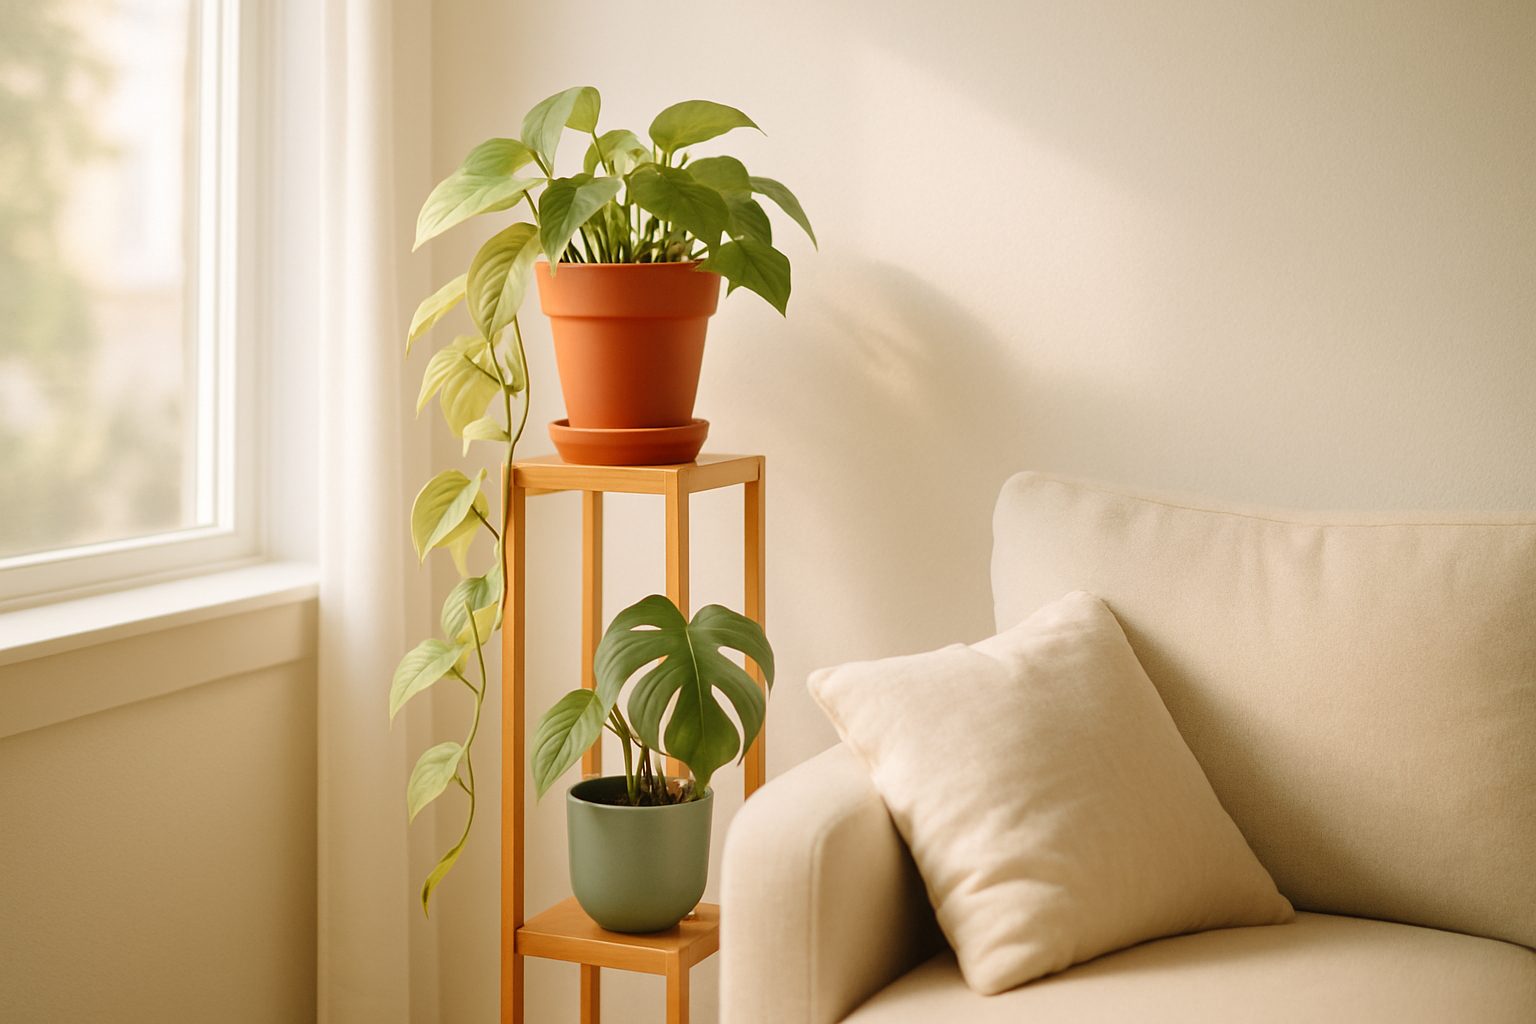
 Best Indoor Plant Stands (and How to Actually Choose One)
Choosing an indoor plant stand isn't just about looks. Here's how to pick the right height, weight capacity, and drainage setup for your plants.